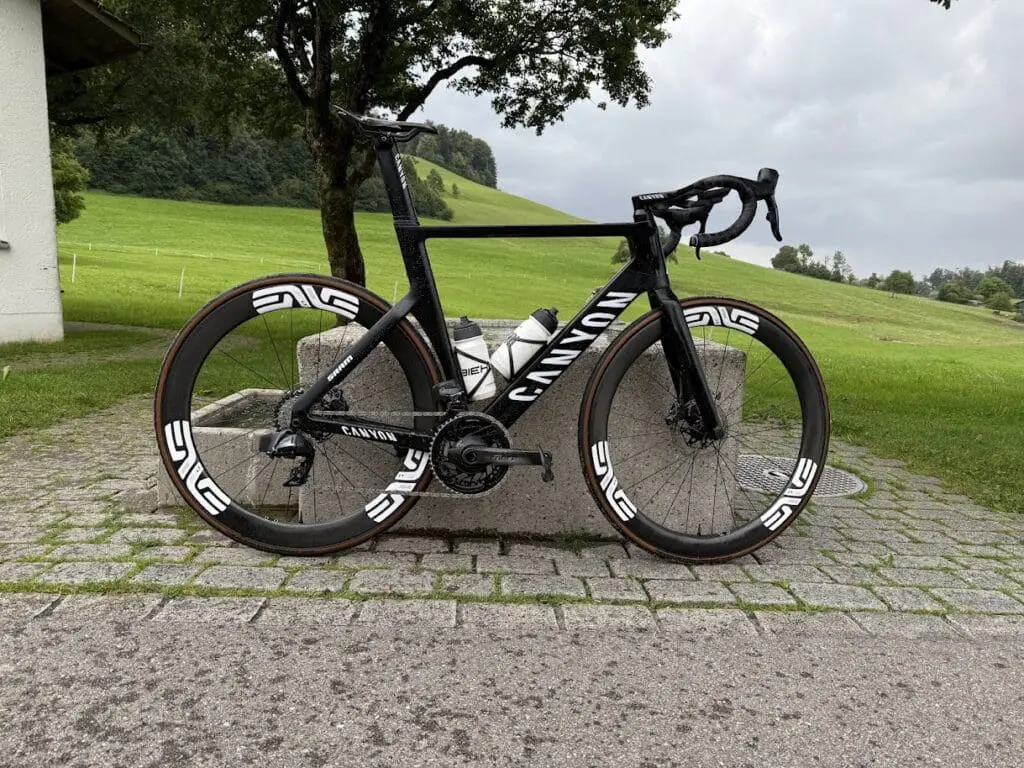
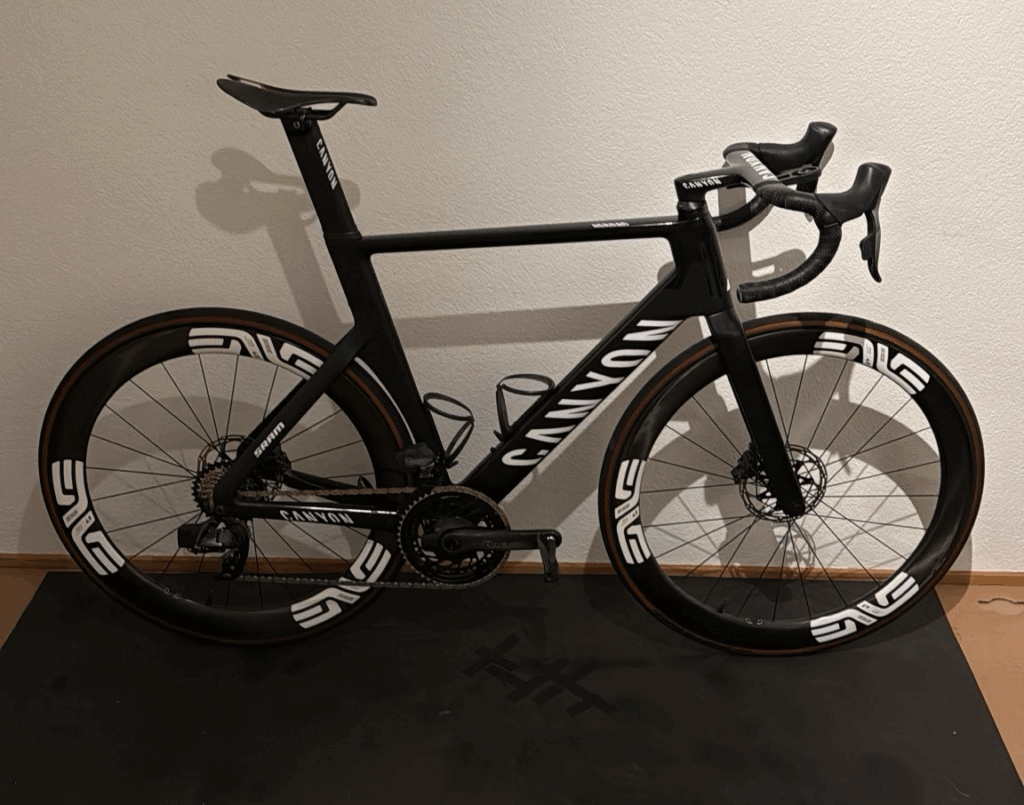
Royal Mail second class service comes free with all UK orders and we have a range of postage options with prices for every destination in the UK and internationally. If you want a tracked delivery, please select it at check out.
Well, it’s simple once explained but you need to order the right one according to the requirements of your project.
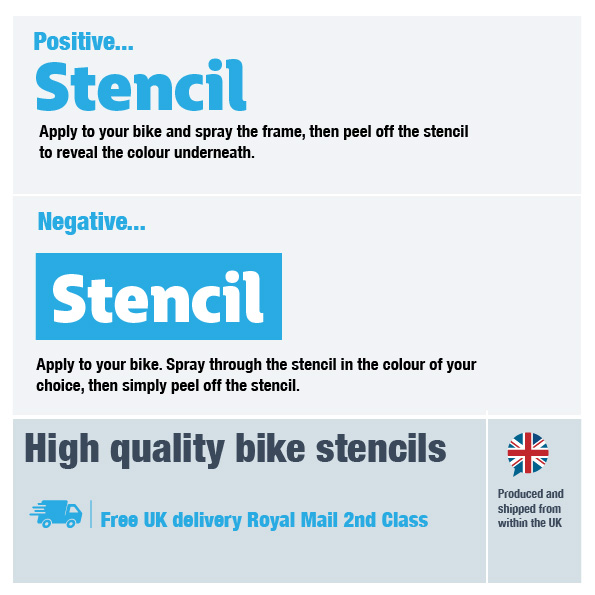
A positive stencil is a stencil of your brand that you apply to your bike and then spray the frame – the stencil masks your base colour underneath. Once dry, very carefully remove the stencil and your brand is shown in the base colour against your newly resprayed frame colour.
A negative stencil is the opposite and is more like what we think of as a ‘traditional’ stencil (think painting a shipping crate with the word “FRAGILE” using a paint brush).
Apply your negative stencil to the bike frame and then mask off the rest of the bike too. Once done, spray onto the frame through the stencil with the desired colour. When fully dry, very carefully remove the masking tape and stencil to expose the bike brand you have just sprayed.
Both positive and negative stencils are made from the same Meta-mark M7 stencil material and supplied and shipped by us. Negative stencils, however, are a bit more expensive as they use more material, take slightly longer to produce and as the package weight is heavier, cost more to ship.
Whichever you choose, you end up with your bike brand on the frame in the colour you want, but the approach is different.
Here is a graphic of the 2 stencils versions as a quick aide memoire.
Should you require more info or still be confused by stencils, please drop us a message at hello@decalzove.co.uk and we will be delighted to assist
Yep, if it’s smooth. The majority of our decals are applied to bike frames, but many of our customers have used them for other applications too.
The best rule to follow is the surface must be smooth and unbroken. Curves are OK, but we wouldn’t recommend applying around sharp corners or edges or onto any kind of textured surface. Our decals have excellent adhesion, hence their 5+ years life-expectancy, but they must be completely flat to the application surface.
So, glass, smooth metal and painted surfaces (wood, plastic, metal, carbon fibre etc) are great and provide a perfect surface.
Rough, sawn timber (i.e sheds and fences), textured surfaces, clothing or anything that is not smooth or has sharp corners, we recommend you avoid.
Please feel free to drop us a line at hello@decalzone.co.uk if you have any questions or require help, we are always keen to hear from you.
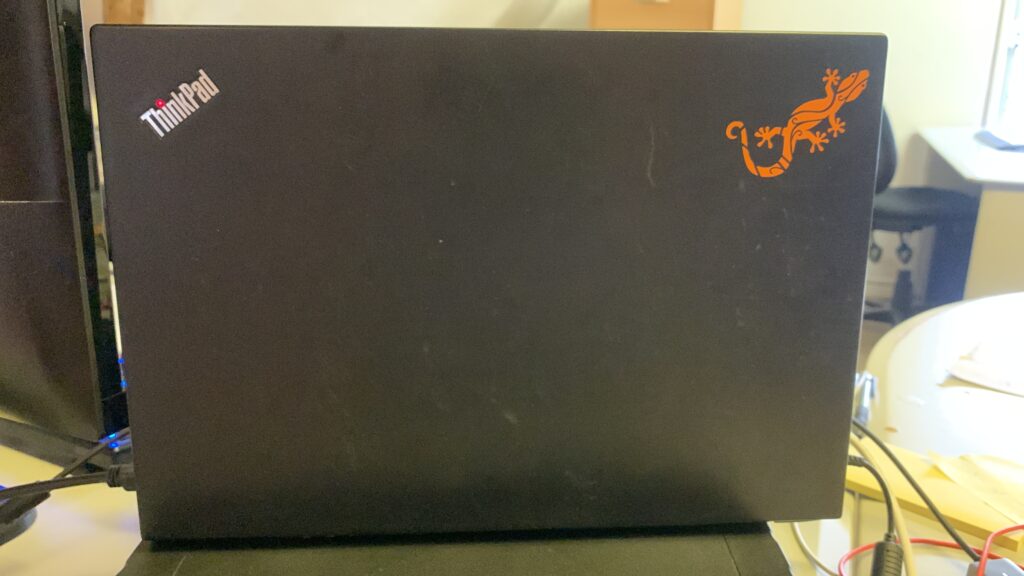
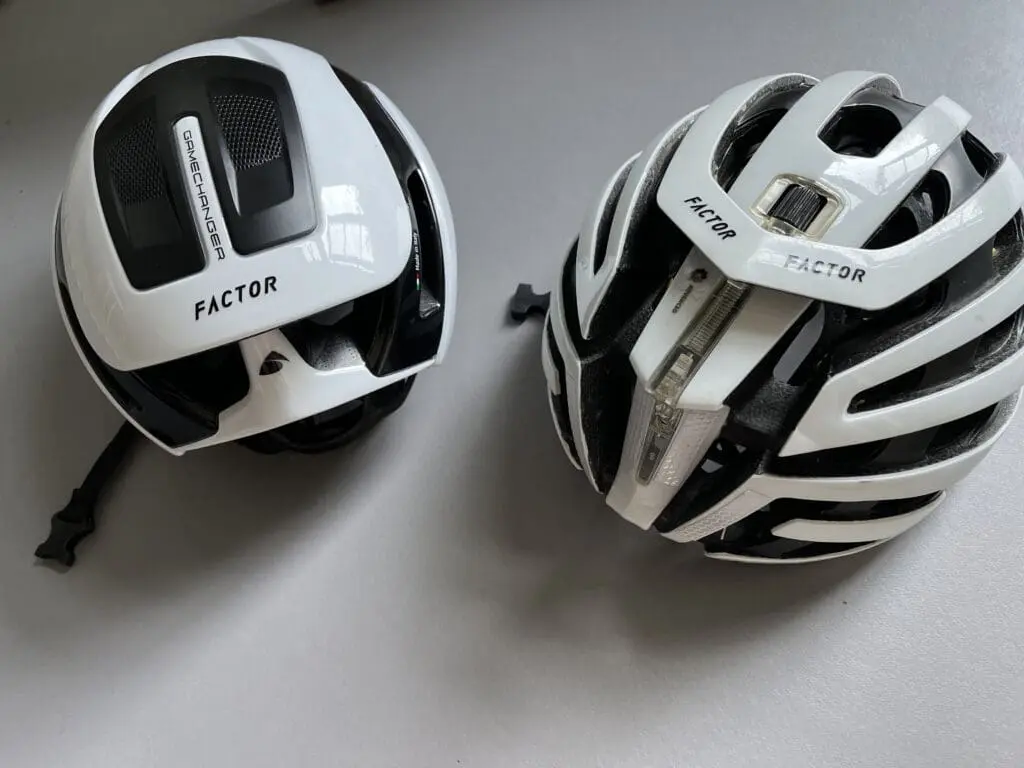
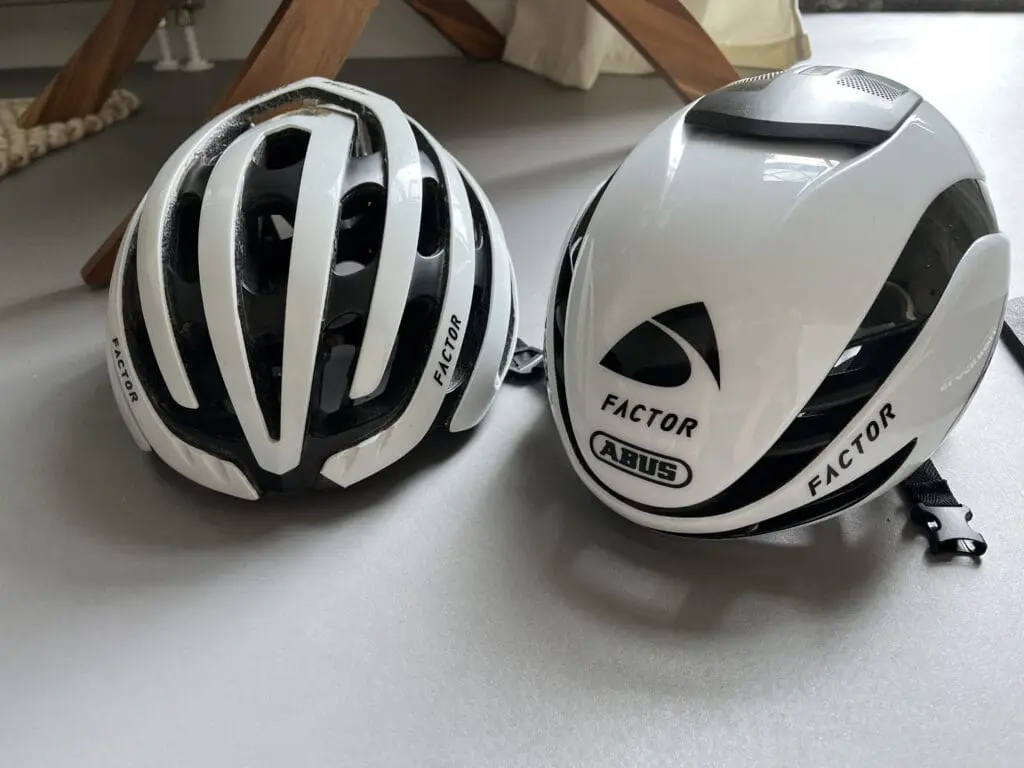
Please below some examples where our decals have been applied to other surfaces.
We provide full colour printed instructions with every order.
But putting it simply you add a decal to your bike (or any smooth clean surface) by removing the white backing paper from the decal, leaving the decal on the cream-coloured transfer tape with the sticky side exposed (see short video here https://www.youtube.com/watch?0). Then position the decal on the bike, press firmly to remove any air bubbles and carefully peel away the transfer tape.
Once done, stand back and admire the beauty…
This is a vey quick summary but our detailed instructions cover the application fully with many pictures to assist and things to look out for.
Please drop us a line at hello@decalzone.co.uk if you need any information or assistance, we are always happy to assist.
Simply put, a decal (sometimes referred to as a sticker or label) is applied to your bike frame and that’s it… job done. They are cut from very high quality vinyl material designed to withstand up to 5 years outside in one of our 15 colours. They are permanent and don’t come off easily!
A stencil allows you to spray the bike frame using the stencil as a mask to form the brand in your chosen spray colour (see our ‘Positive or negative stencils’ post. Stencils are made from a different lower tack material, designed to adhere firmly and then remove easily after spraying… not for long-term endurance on the bike frame. Our stencils are made from the best quality Meta-mark M7 stencil material (made in the UK) and very high quality paper-based low-tack transfer tape.
Stencils are sometimes chosen where a bike is being resprayed and/or a very specific brand colour is required.
Applying stencils to your bike frame (or any other item) is the same as applying our standard decals.
We supply stencils with transfer tape already applied so all you need to do is select and separate the one you want from our supplied selection, peel off the backing paper to expose the sticky side and apply to your bike… then spray away!
Obviously there is a little more detail to be mindful of but this is fully covered in our instruction leaflet supplied with every order.
In our world (the world of Decal Zone) they are all the same thing!
But we do not supply stickers or labels in the traditional sense, this is the cheaper end of the market “generally” where they are made from cheap materials with low quality glues for short term applications. We are not knocking this, its simply fitness for purpose.
At Decalzone we provide very high quality decals for long term exterior applications, with all the bits to apply them. (i.e. backing paper to protect the glues/adhesive until ready to use), the transfer tape already applied making sure the letters stay in the right position while you apply to the bike and instructions on how to do it.
Our vinyl’s are the best with 5+ years colour fade resistant and manufactured using the very best tangential vinyl cutters with computer controlled blade directional software for perfect cutting.
We are vinyl cutters and not printers, so our decals are a profile cut of the design.
We hope this helps explain the differences, but of you require any additional information for need any assistance please drop us an email at hello@decalzone.co.uk we are always happy to assist
Well, you can tell how we feel about that one, can’t you. Don’t do it.
It’s not about the application… there’s nothing to stop you applying one of our decals over the one already on your frame. The problem is, there is no uniform size for any bike brand, even from the manufacturers who may distort their brand to fit a specific area or create new versions for specific releases. Other issues include that letterspacing may be different to what is already on your frame. There are a plethora of sizes and cuts out there and it would be very lucky if ours fitted over the existing one perfectly – and let’s face it, there’s nothing worse than having a sliver of the old logo showing below the new one.
Decals in our range are not created for any specific size, model or brand of bike! We offer a range of sizes that will accommodate most bike sizes (plus a bespoke service of large decals which are ideal for road bike with huge down tubes) but they must be applied to a clean, unimpeded surface.
Where we can see an obviously consistent brand, we originate our decals to follow this as authentically as possible. However, many bike brands vary considerably, even when originated by the manufacturer who may stretch their logo to fit a frame span, add shadows or other effects or create a one-off brand for a specific release. There are also, of course, rebrands where a manufacturer completely updates its bike graphics.
Often we provide a variation of brands for an individual bike to give choice but cannot match every version and there’s a possibility we may not cover your own bike brand . If so, please feel free to let us know… we can’t guarantee to replicate your desired brand, but we’ll certainly look at the possibilities and advise.
Just something to note, if your plan is to overlay a new decal onto your existing brand, remember that there are a multitude of different variations of every brand so even if it looks the same and the measurements are appear the same, it may not perfectly cover your original brand. We recommend you do not overlay decals.